Part 1: Register your Zoho Invoice application
- Go to https://api-console.zoho.com/
- Sign in using your Zoho Invoice credentials, and click the ‘Get Started’ button.
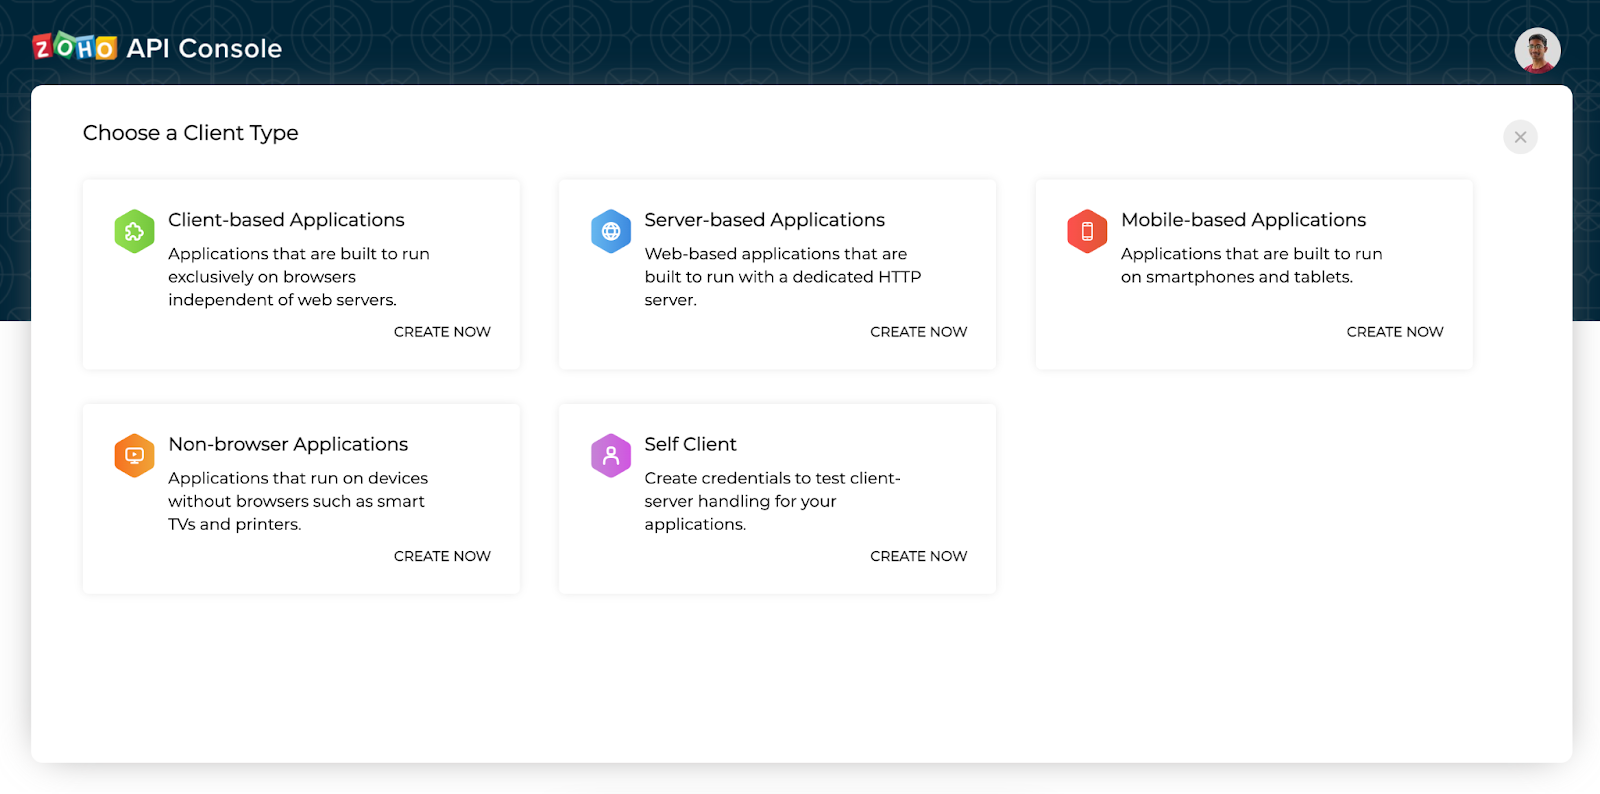
- On the page titled ‘ Choose Client Type’ select ‘Server-Based Applications’.
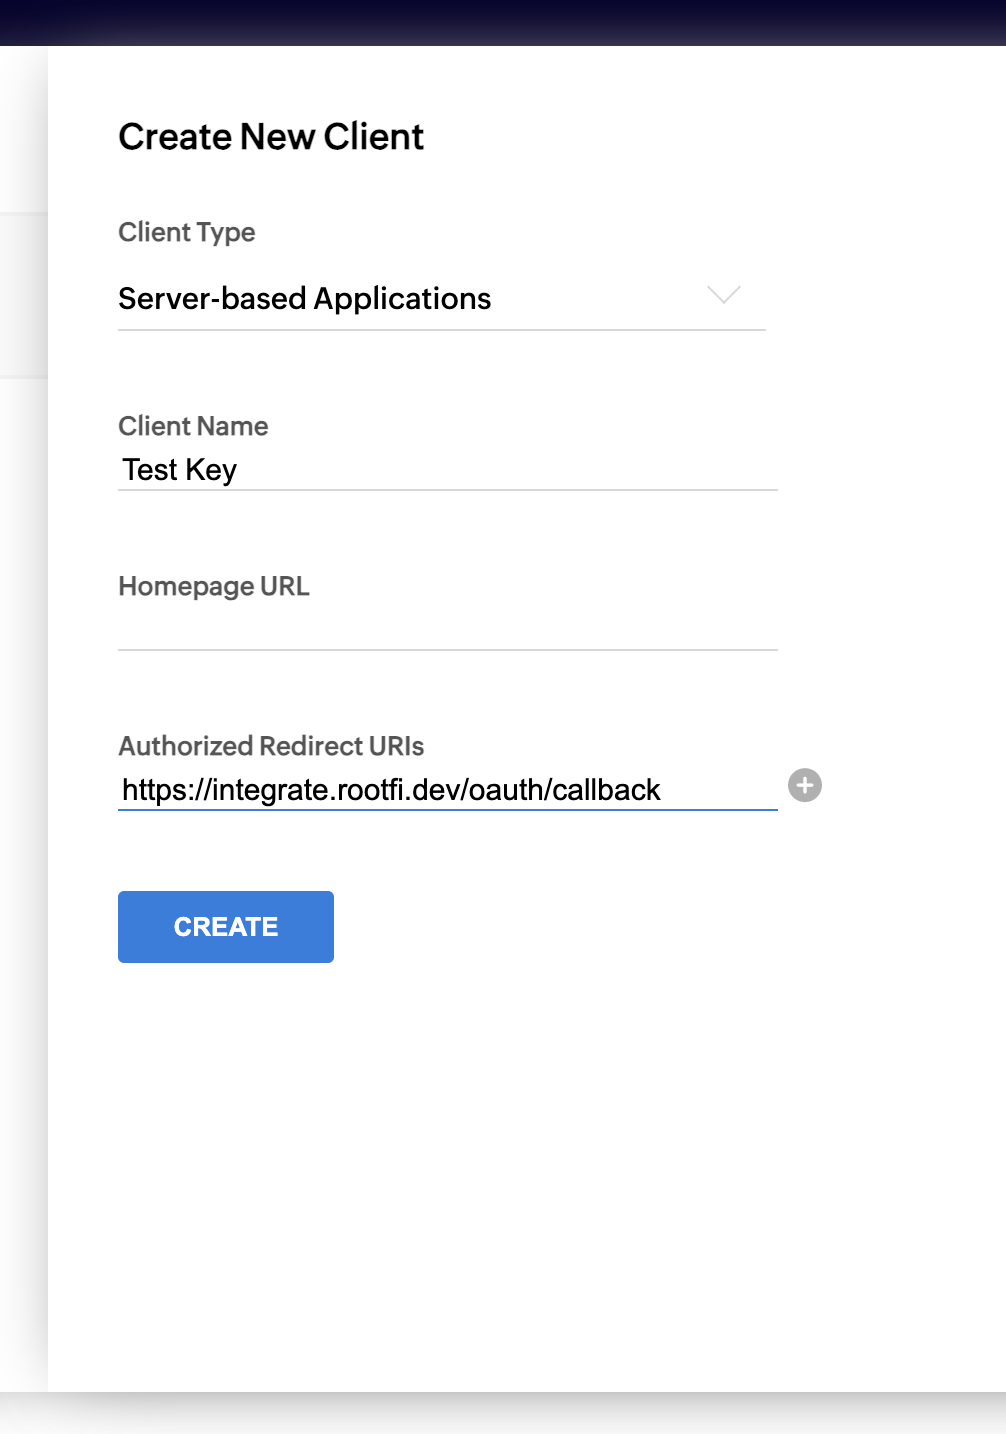
- The ‘Create New Client’ page will be displayed. Here you must enter the following details:
- In the ‘Client Type’ list, select ‘Server-based Applications’.
- For the ‘Client Name’ field, enter your company’s name.
- In the ‘Homepage URL’ field, enter your company’s website.
- In the ‘Authorized redirect URIs’ field, enter ROOTFI CALLBACK URL
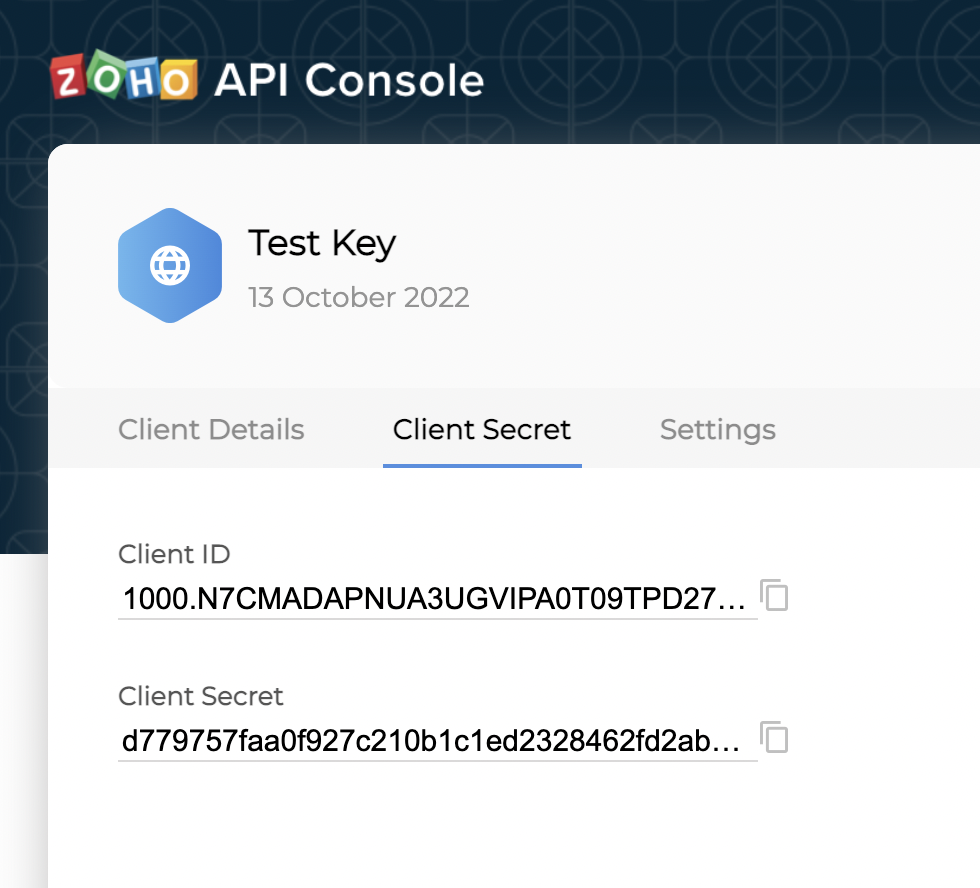
- After you click ‘Create’ and the page refreshes, you should select the ‘Client Secret’ tab. Here you will find the secure keys that you need to enter on RootFi’s dashboard in order to activate the Integration.
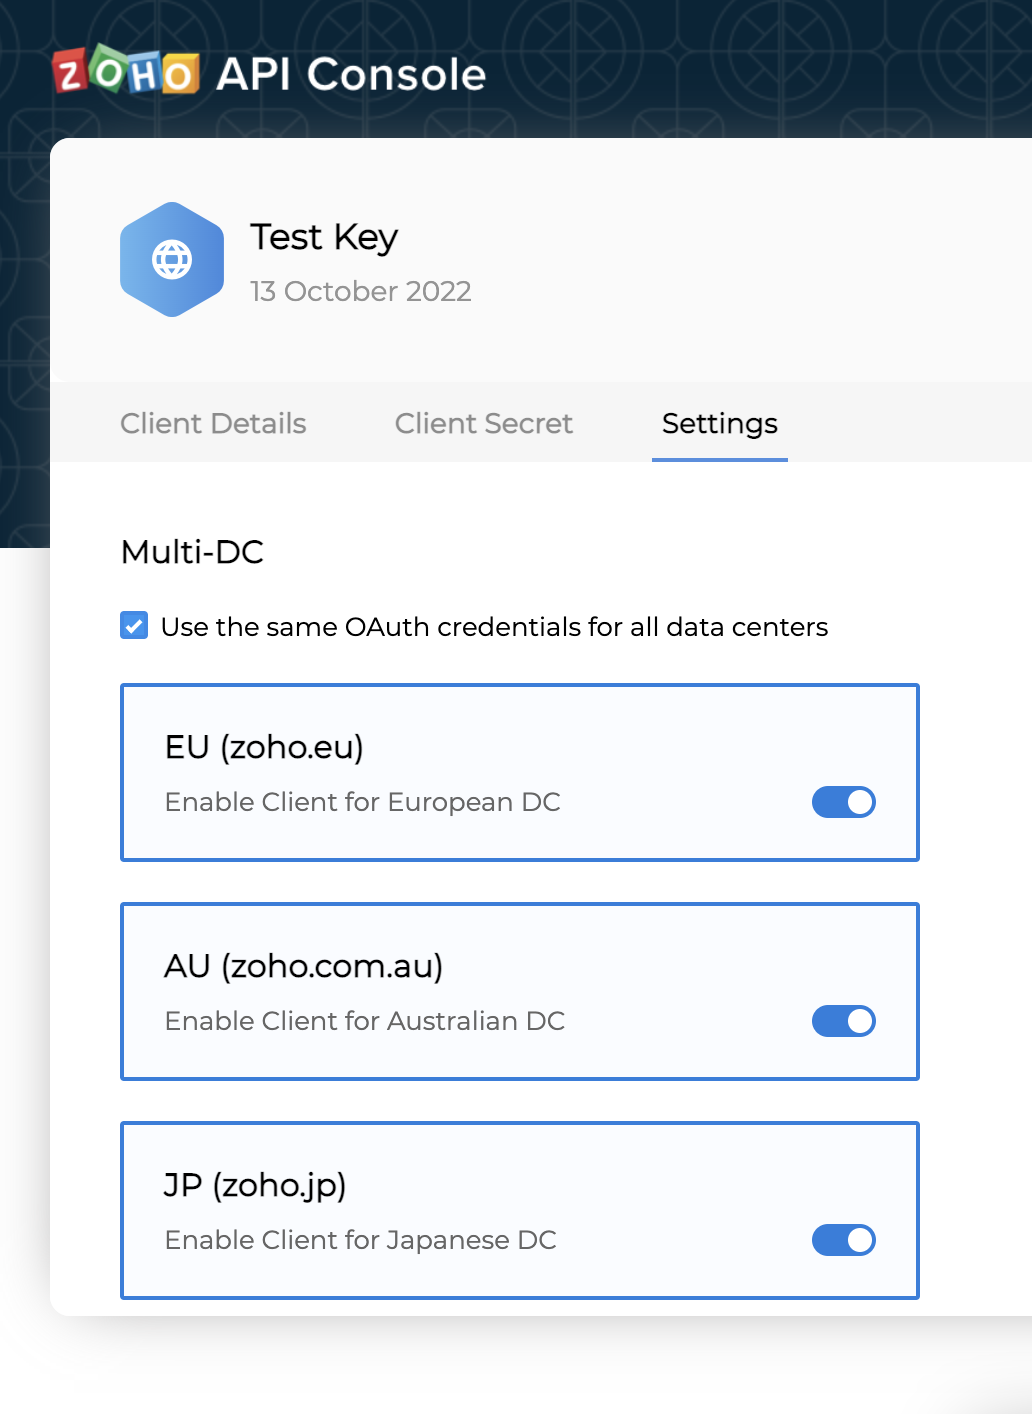
- Finally, you select the ‘Settings tab’, enable the regions where you have customers, and check the box which says ‘Use the same OAuth credentials for all data centres.‘
Part 2: Enter Your Client ID and Client Secret on the RootFi Dashboard
- Login to the RootFi dashboard
- Select the ‘Integrations’ tab on the sidebar - here you will see a list of platforms you can integrate with
- Click the ‘Set Up’ button which is present on the Zoho Invoice card.
- When the form opens up simply enter the ‘Client ID’ and ‘Client Secret’ which you generated on the Zoho API Console and click ‘Save’