You will need to have verified your company domain in order for you to link your Microsoft Dynamics 365 Business Central integration
1
Create an App
Follow the link https://portal.azure.com/#view/Microsoft_AAD_RegisteredApps/ApplicationsListBladeClick on the +New Registration, you will see a form like this.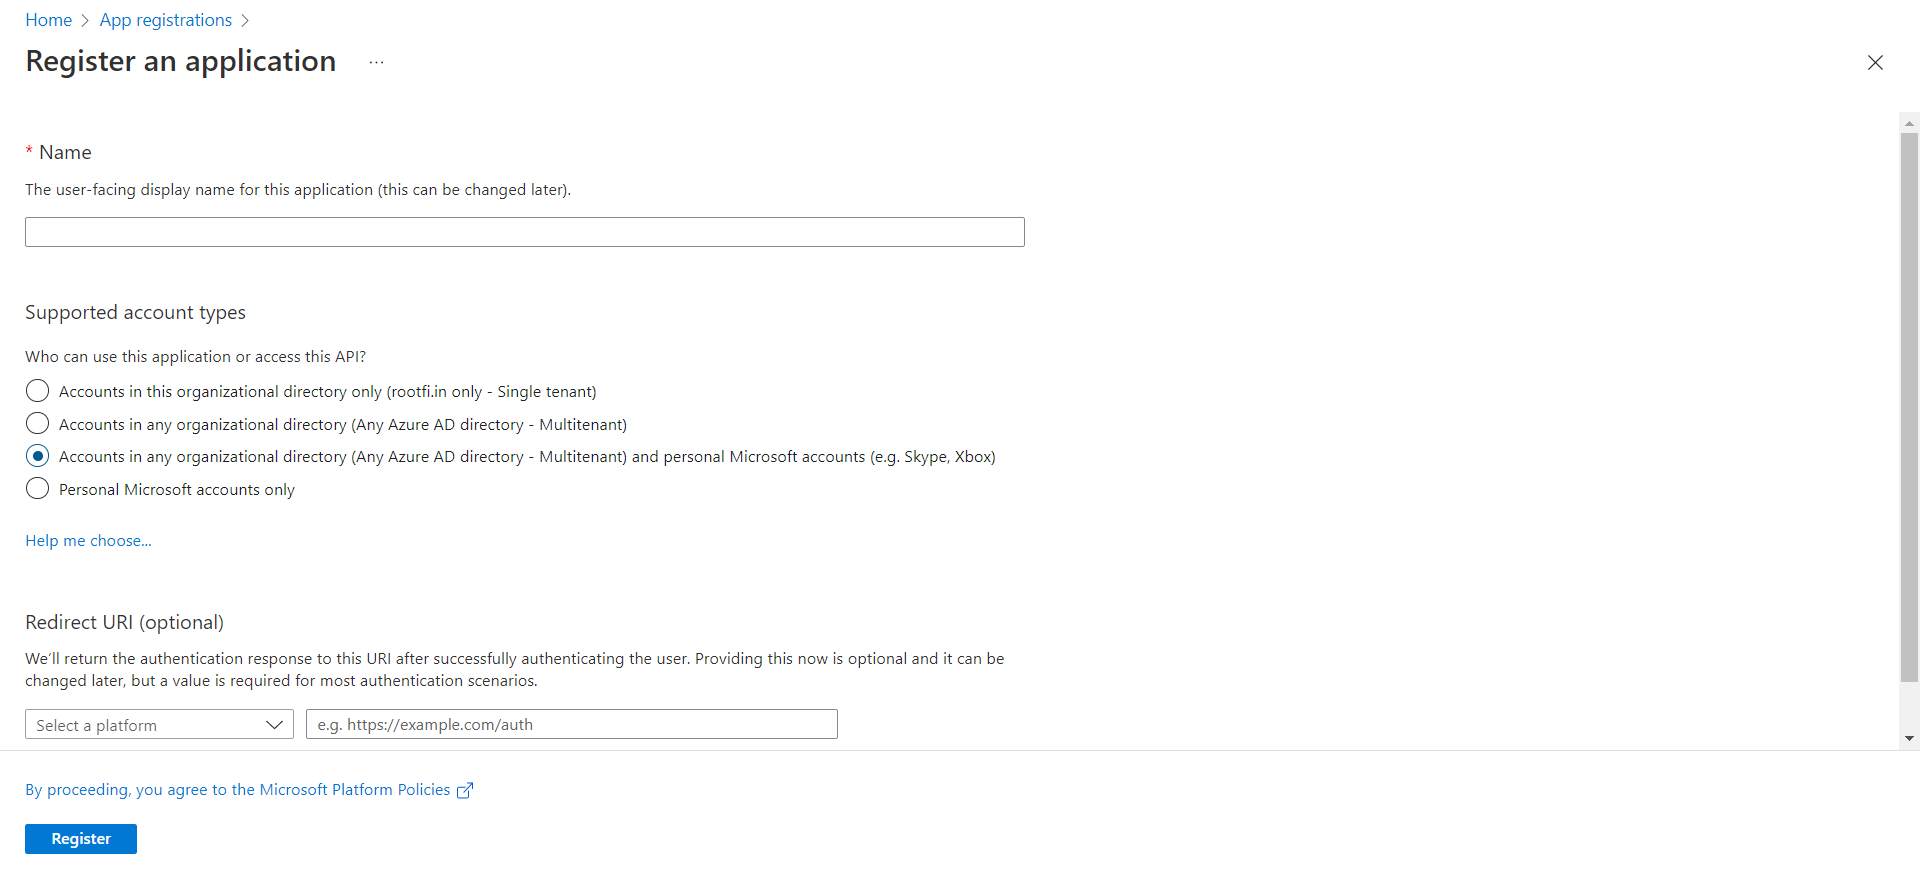
- Enter the user-facing display name for this application (this can be changed later).
- Select Supported account types: Select Accounts in any organisational directory (Any Azure AD directory - Multi-tenant) and personal Microsoft accounts (e.g. Skype, Xbox). This allows RootFi to access data in Dynamics 365 Business Central.
- In the Redirect URI, select the dropdown value as Web and in the value, paste the url, ROOTFI CALLBACK URL
- Now Click the Register Button, now you have created an app.
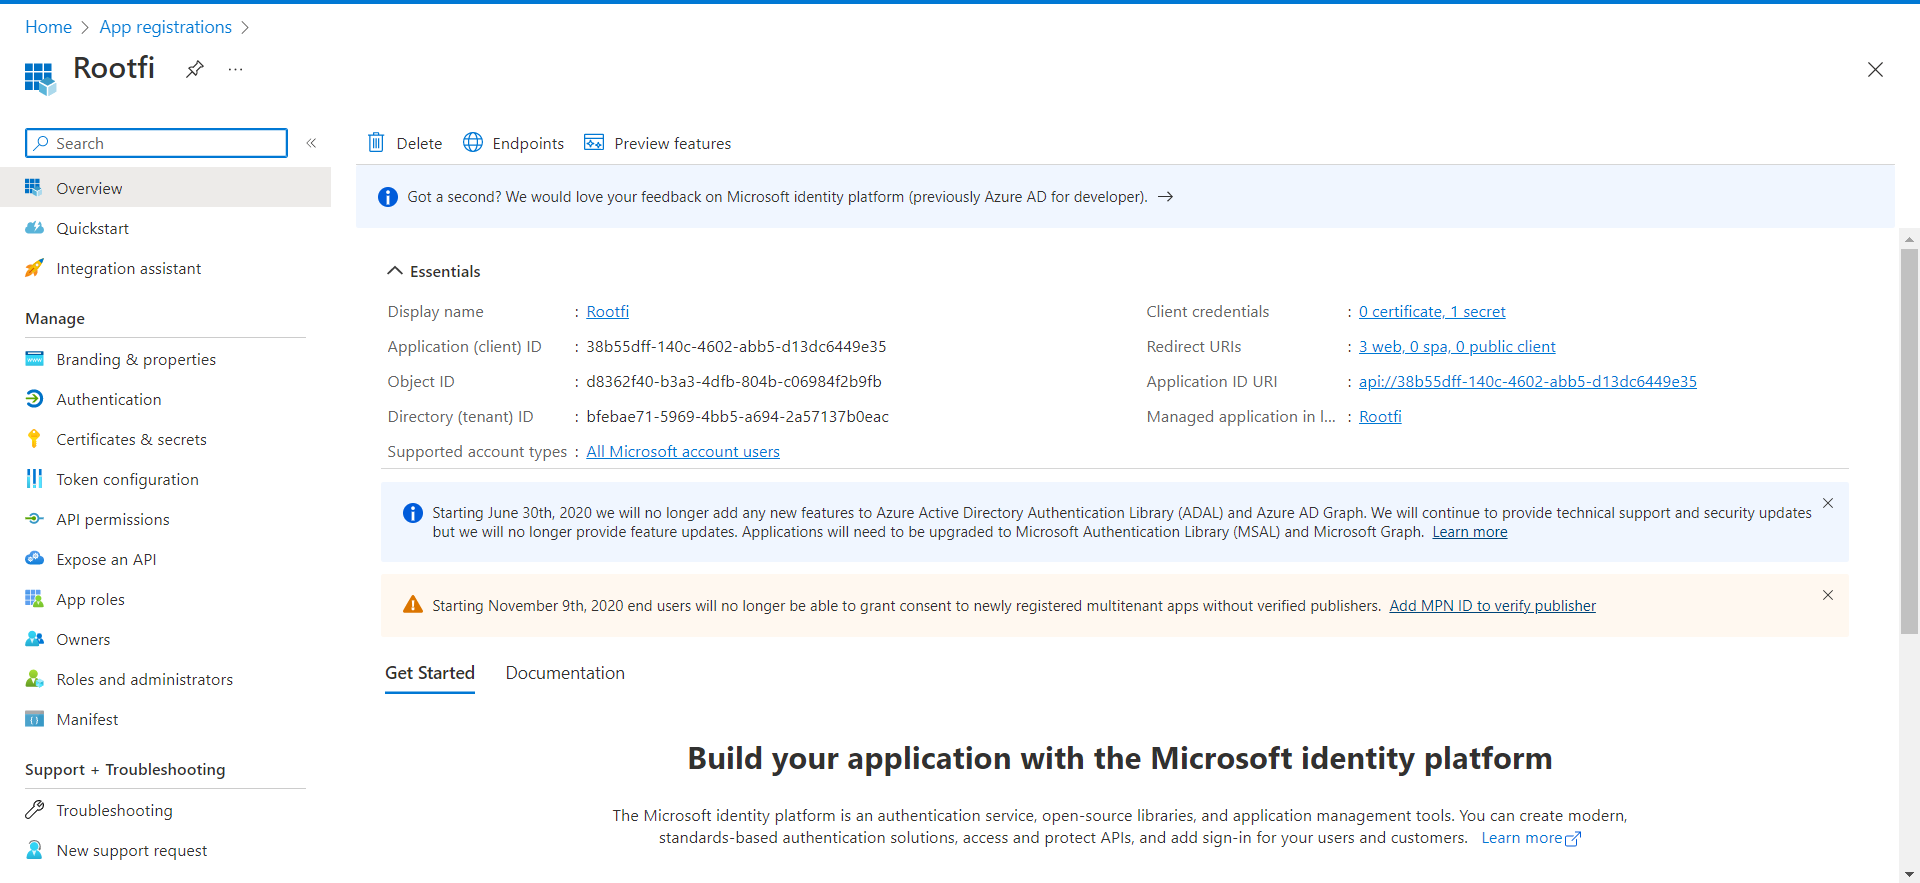
- Below, You can see the newly created app.
2
Copy Client ID and Client Secret
-
Click on the newly created app, Go to the Overview section, you can see the Application Client ID.
3
Generate and retrieve your client secret
In the Azure Portal:
- Select Certificates & secrets in the left menu.
- Under Client secrets, click New client secret.
- In the Add a client secret dialogue, update the following information:
- Description: Enter a short description of your client secret to make it easier to find.
Expires: Select the most appropriate option that complies with your company’s security policy.
Click Add.
4
Update access permissions
Now update the access permissions for your application. These control the data that your app can access in Business Central.
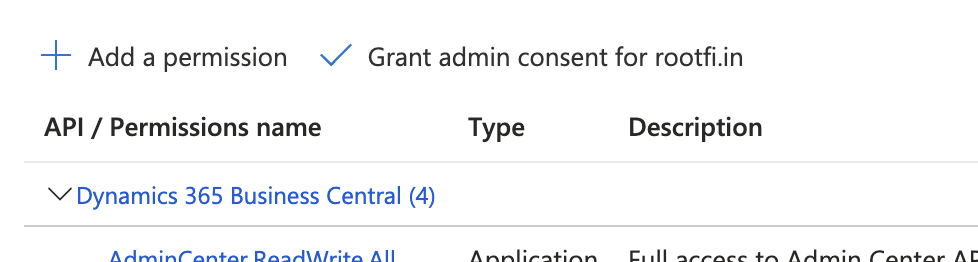
- Select API permissions in the left menu.
- Under Configured permissions, click Add permission.
- In the Request API permissions pane, scroll down and select Dynamics 365 Business Central.
- Select Application permissions and also select the listed permissions:
AdminCenter.ReadWrite.All, API.ReadWrite.All, app_access and Automation.ReadWrite.All.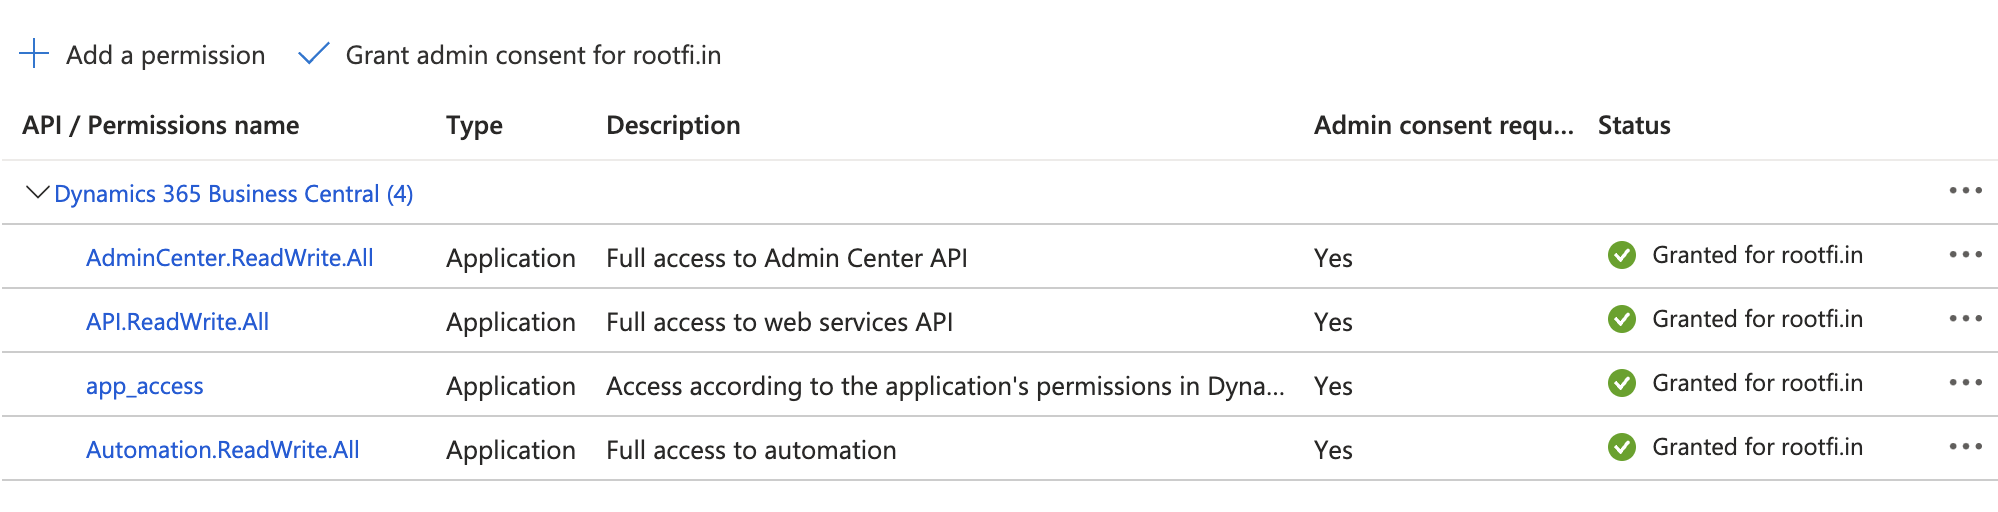
- Click ‘Add Permissions’.
- Above the listed permissions, select Grant admin consent for Default Directory and then select Yes to confirm your change. This option might not be available for all subscription types
5
Enable the App Inside Business Central
To complete your setup, enable the Azure Entra App from within Business Central:Navigate to the following link and sign into
https://businesscentral.dynamics.com
- Click the search icon (🔍) in the top-right corner, search for “Entra”, and click Microsoft Entra Applications:

- Click New.

- In the form that appears, paste your Client ID into the Client ID / App ID field.
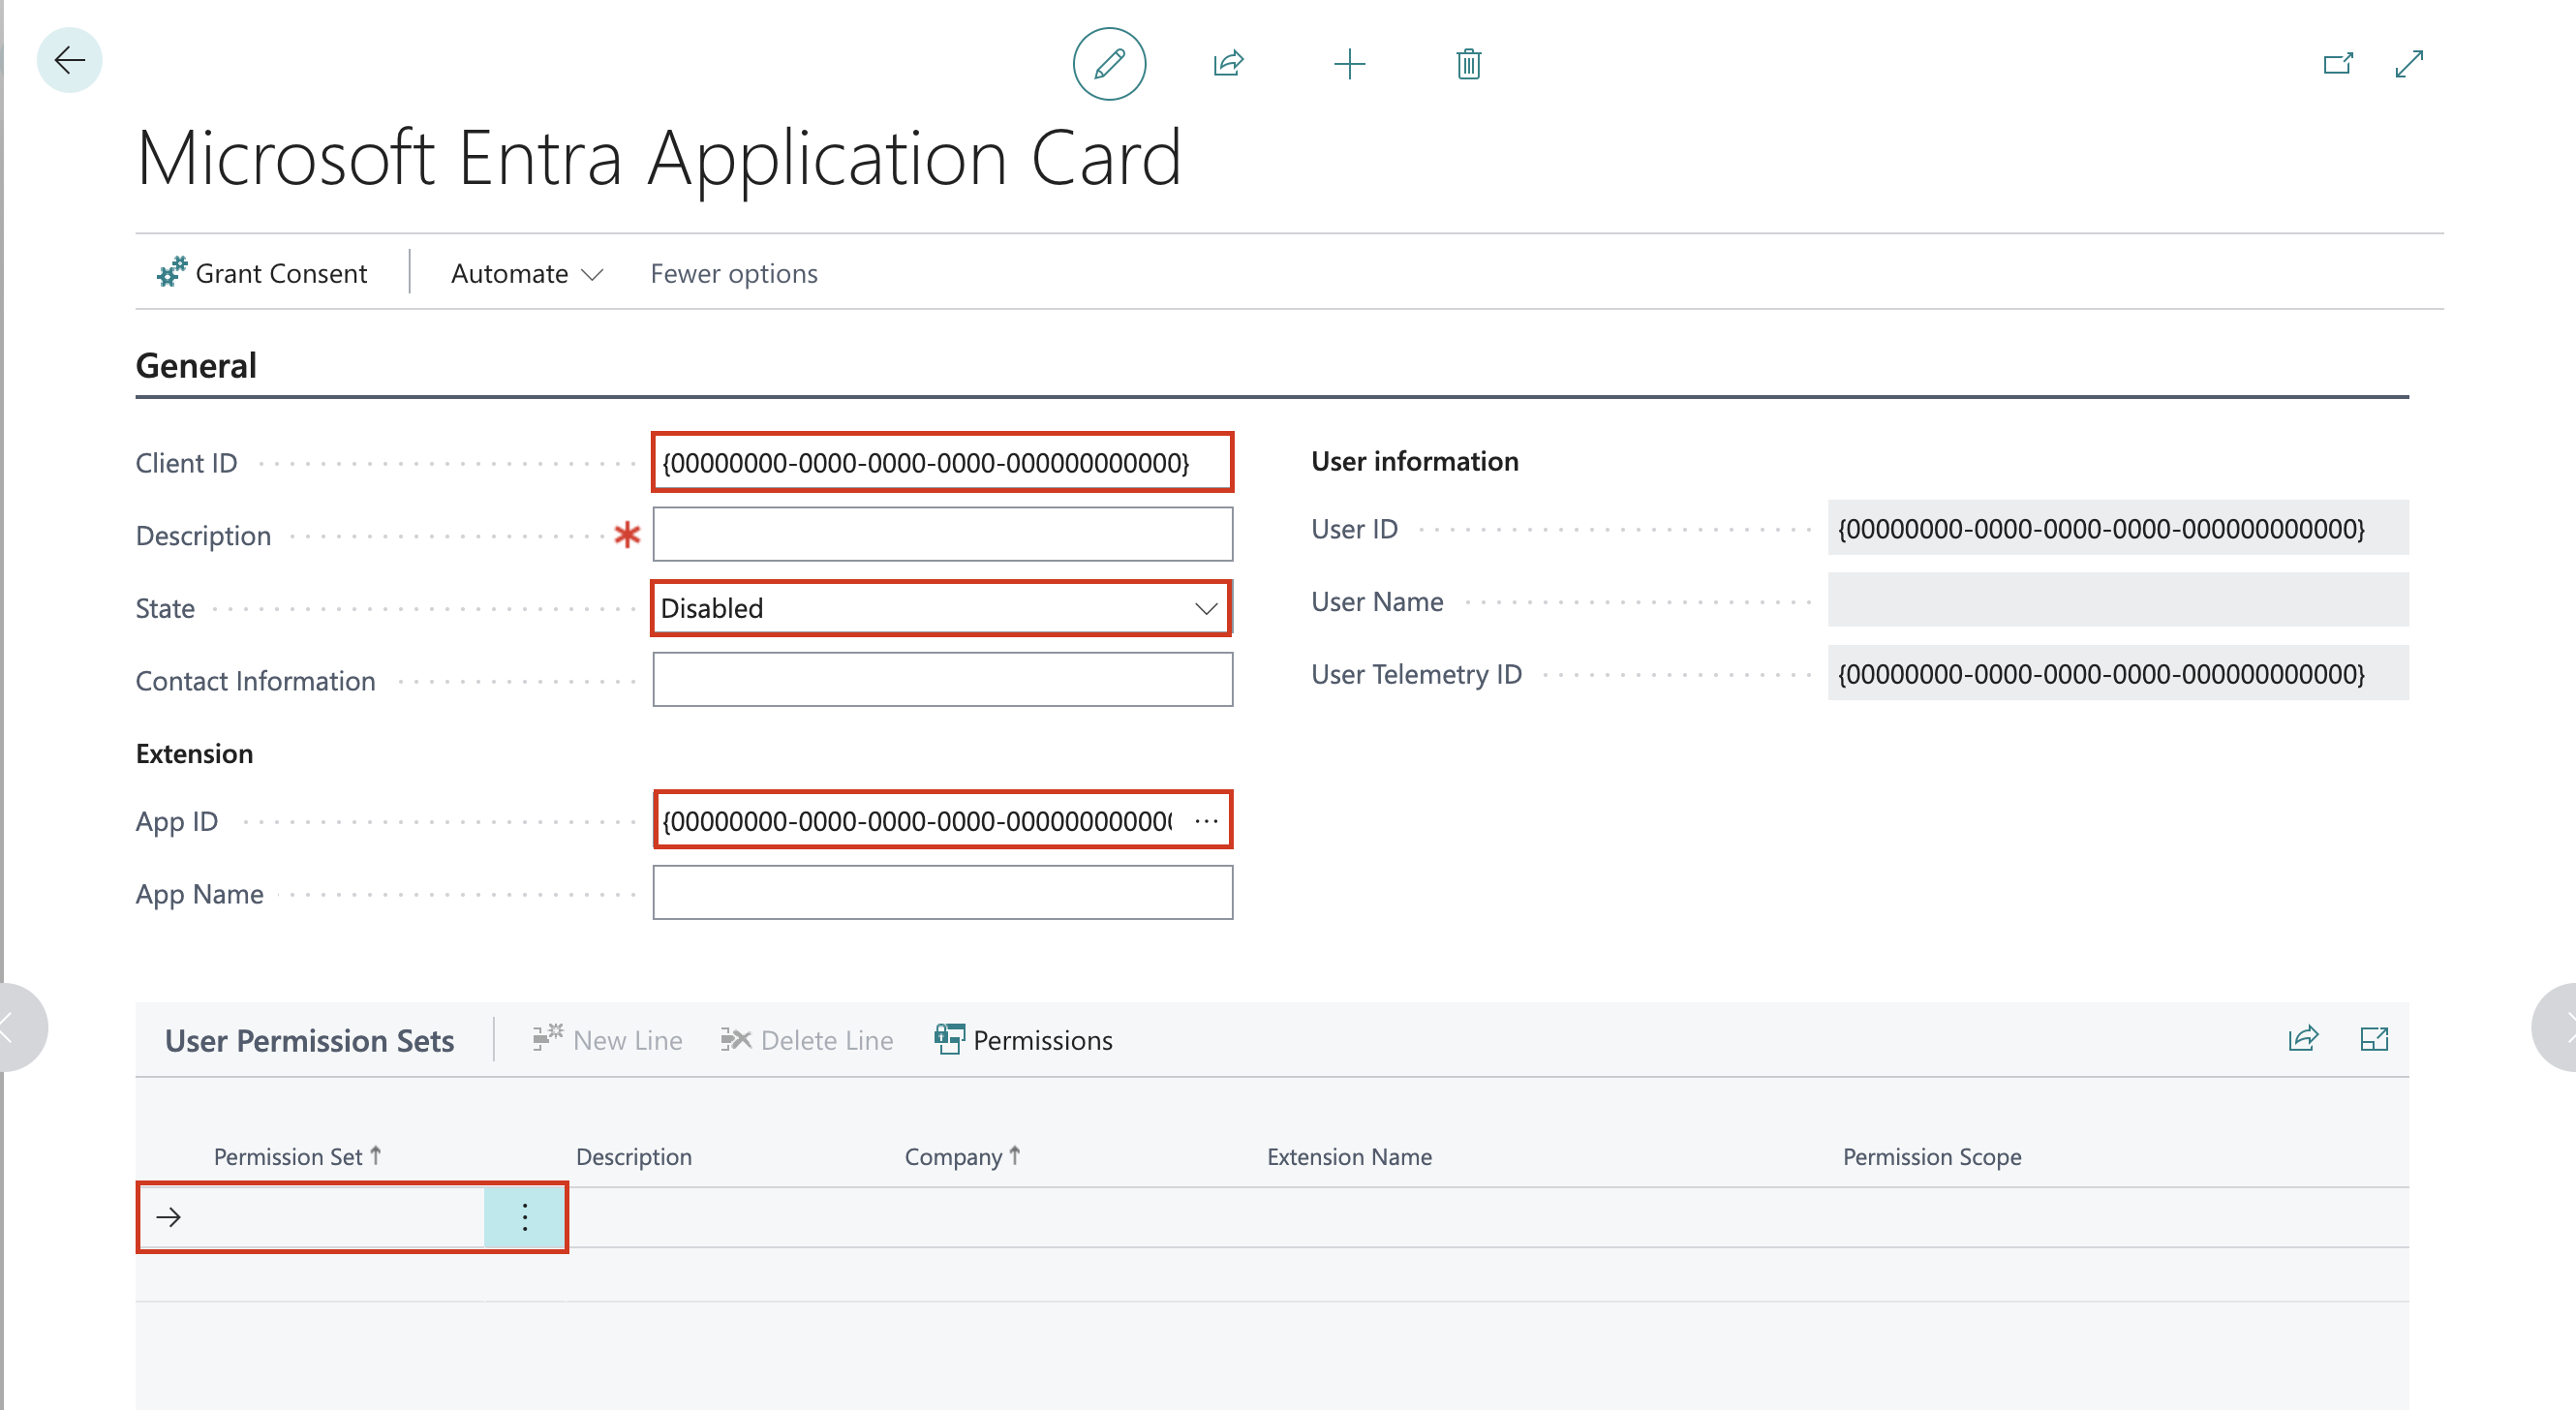
- From the State dropdown, select Enabled.
- Scroll down to the permissions section and assign Administrator access.

- Click Save to apply the changes.
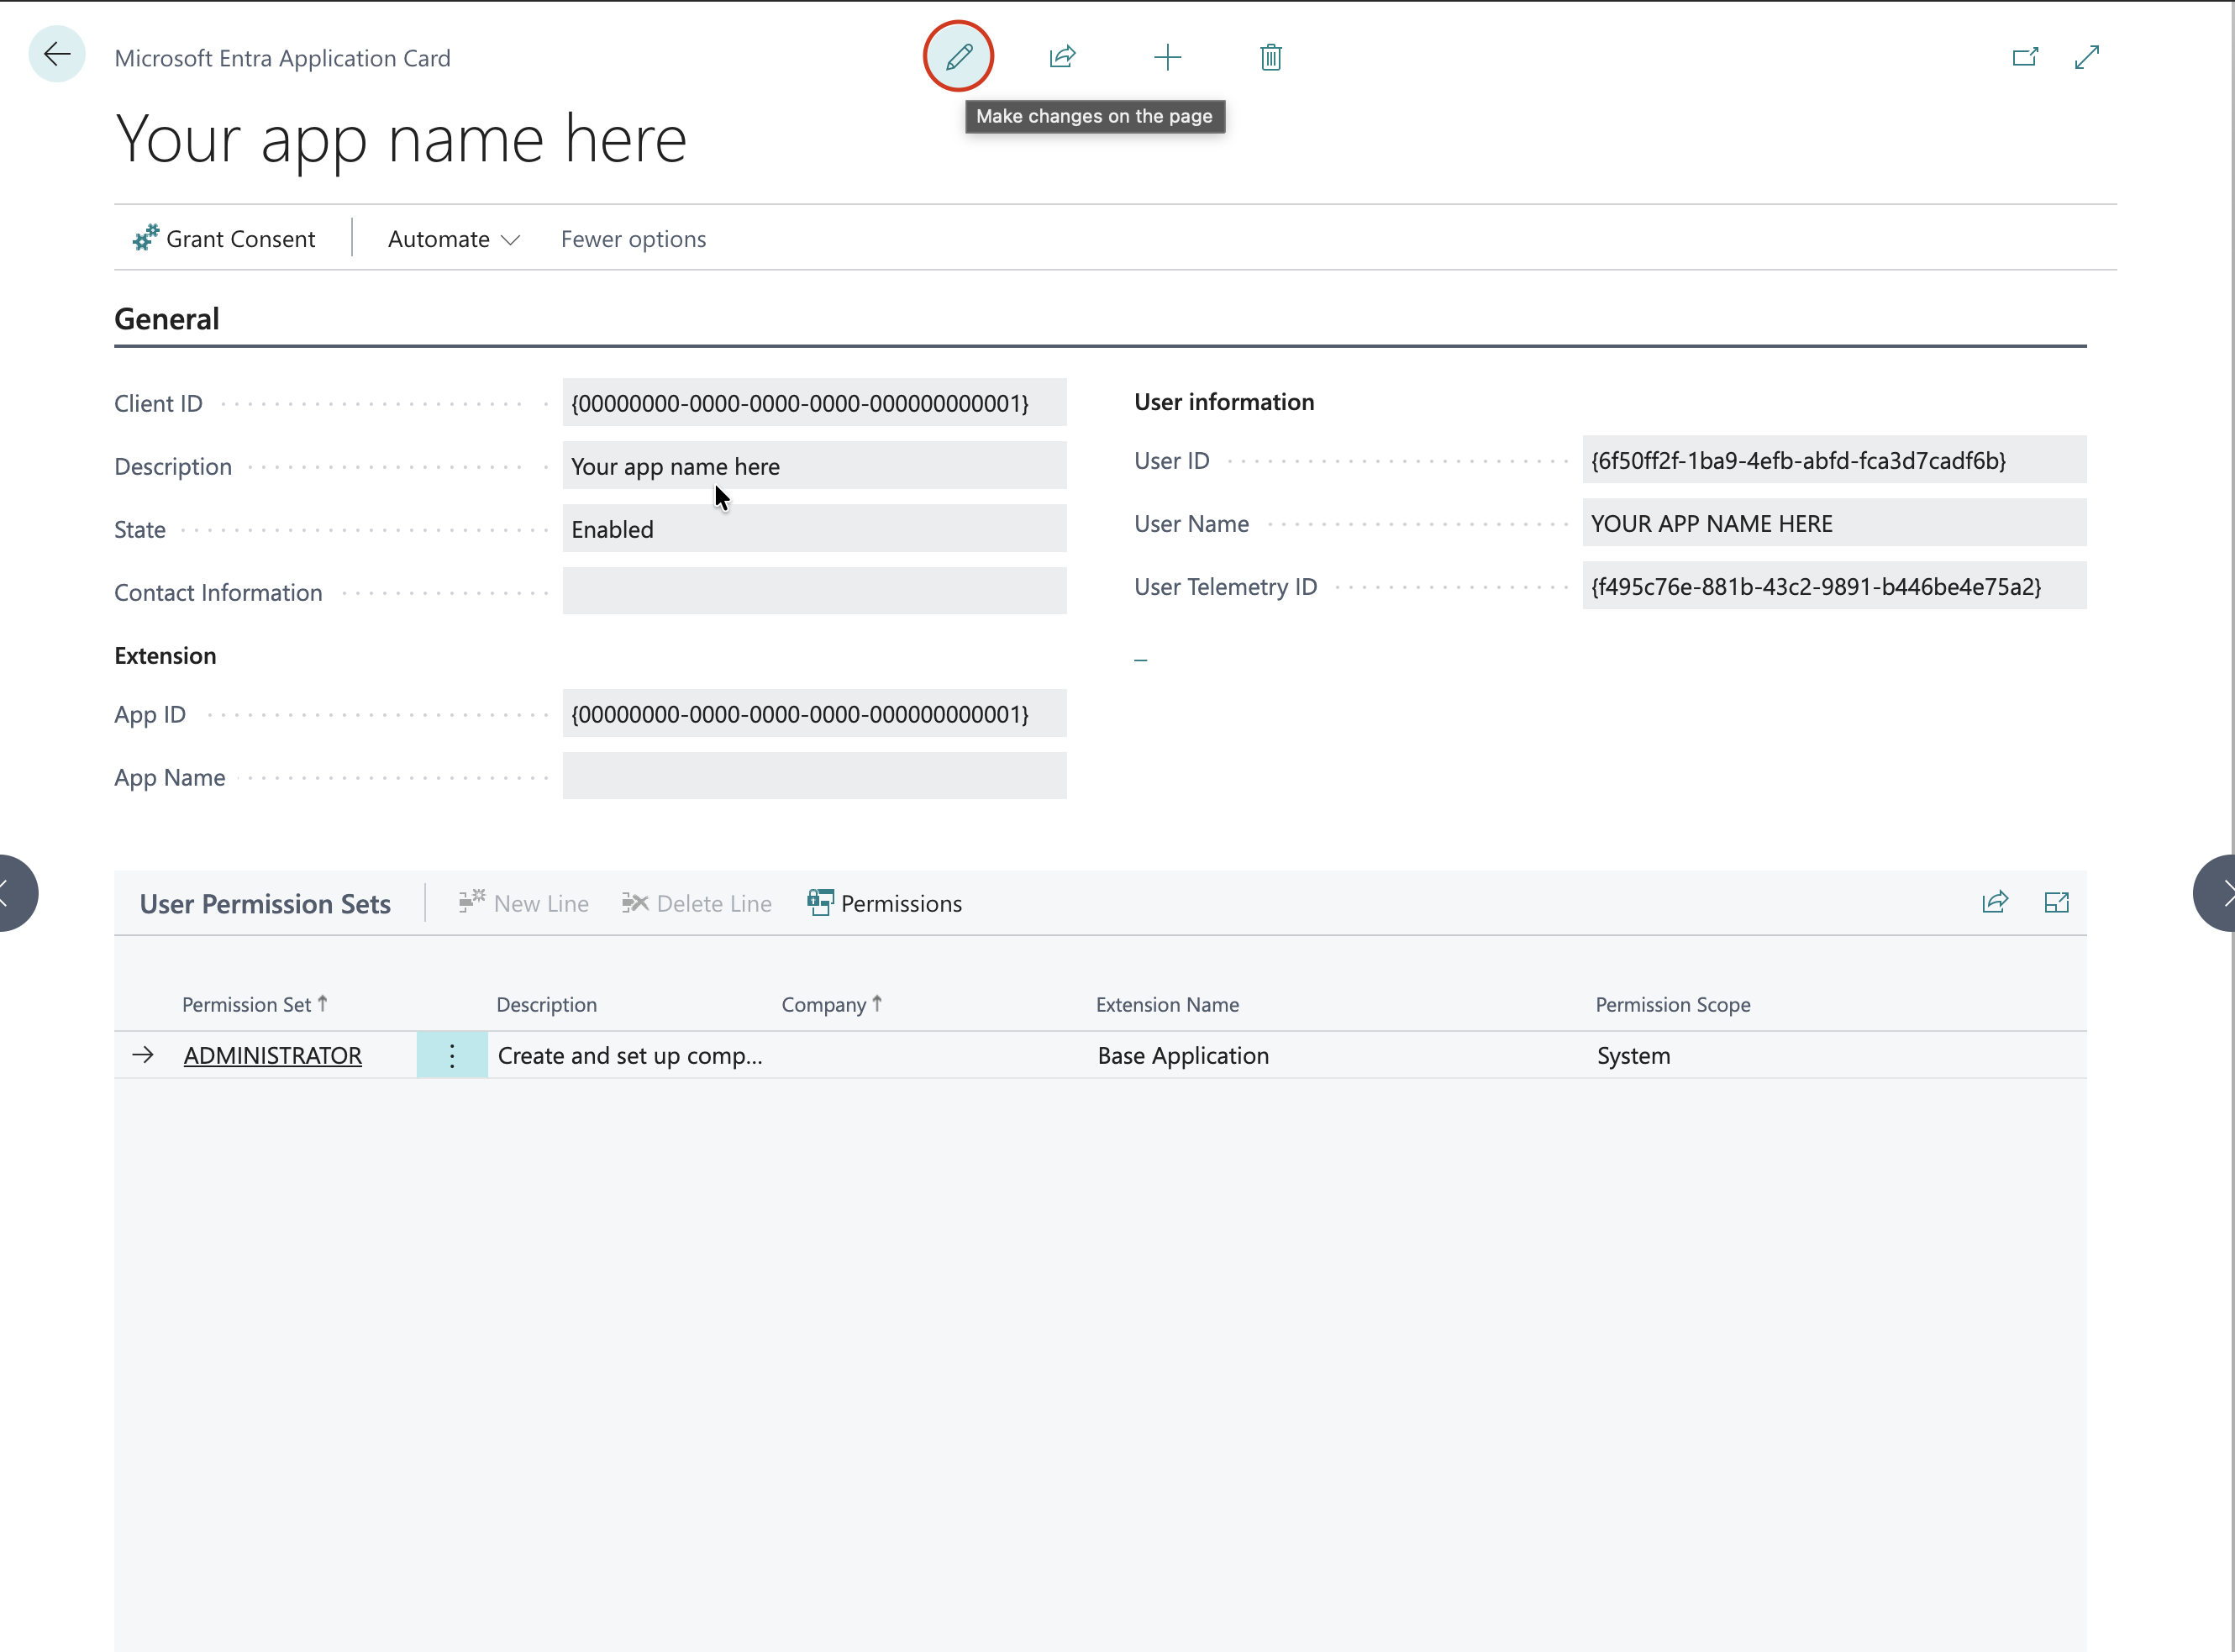
- Your Azure App is now authorized inside Business Central and ready for use with RootFi.
6
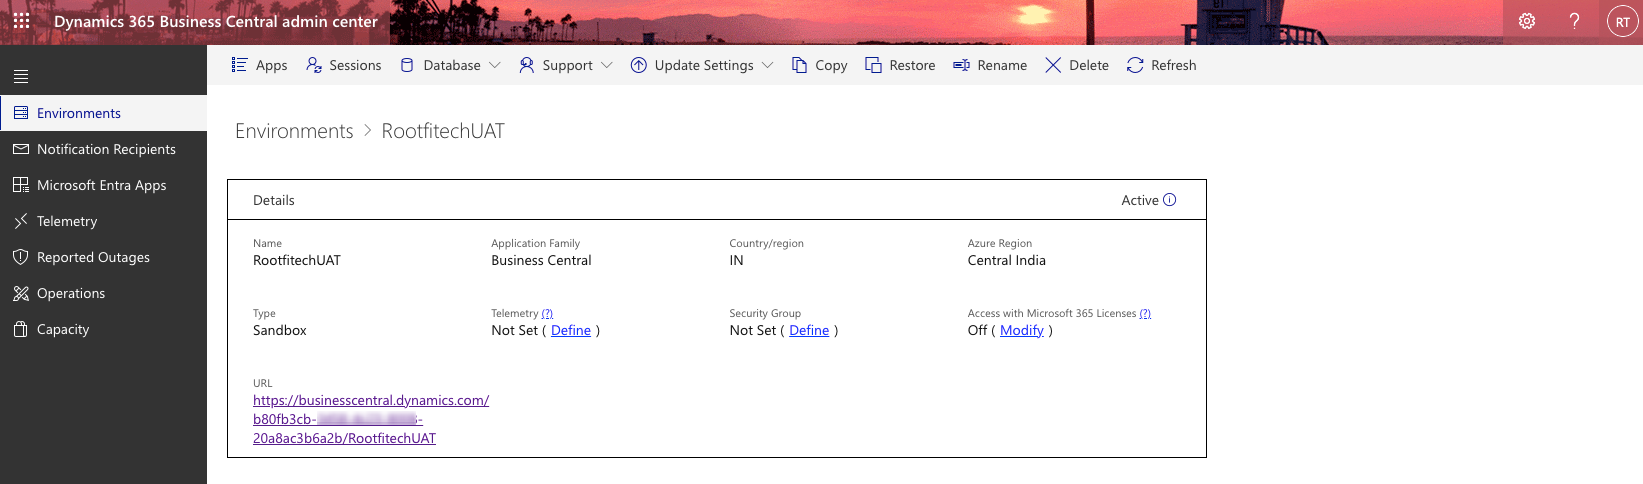
Get Tenant ID and Env Name from Admin Center
You will need to enter your Client Credentials, Tenant ID and Env name in the RootFi connect screen.
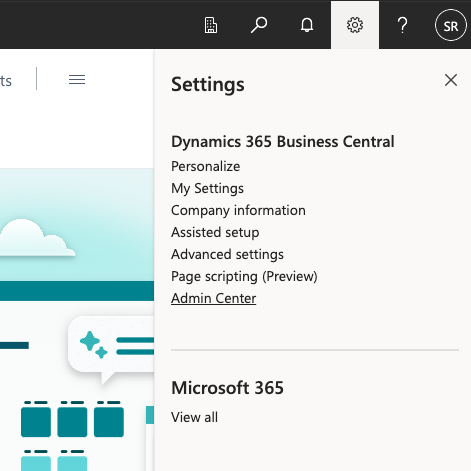
- To get the Tenant ID and Env name, navigate to the BC dashboard, click on settings and then click on ‘Admin Center’.
- Select the environment you want to connect.
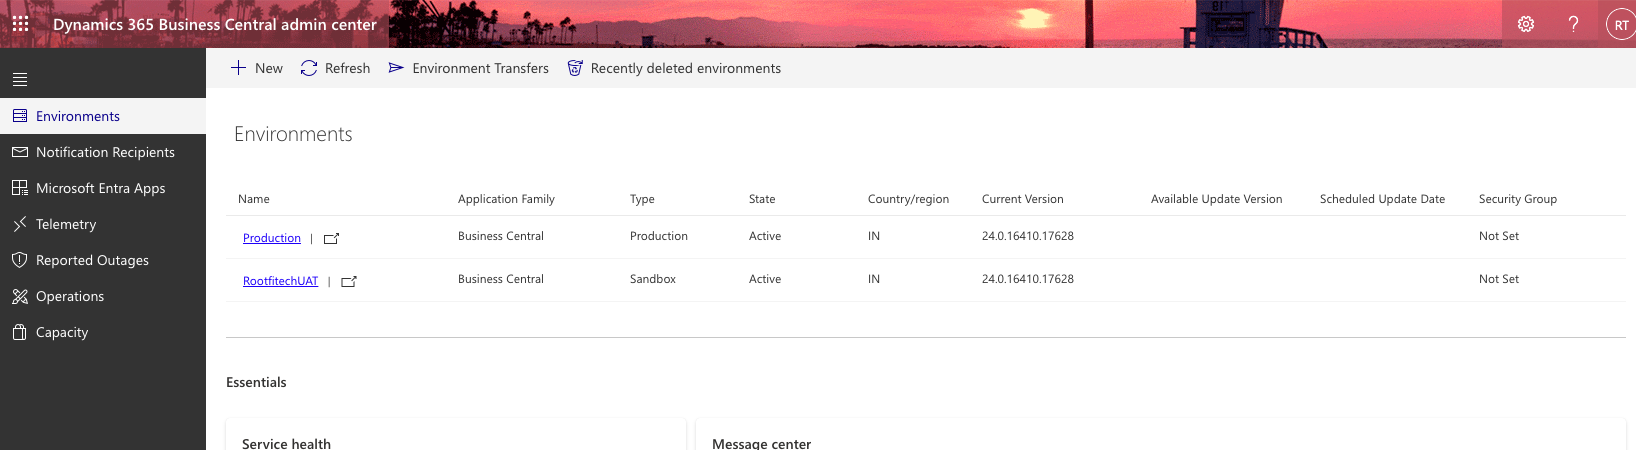
- Copy the name of the environment and the tenant id from the URL. Use the following pattern to get the tenant ID of your Business Central: https://businesscentral.dynamics.com/[TENANT_ID]/[ENVIRONMENT_NAME]